Create a Project
Click Projects in the left navigation.
Click Create or Create a Project.
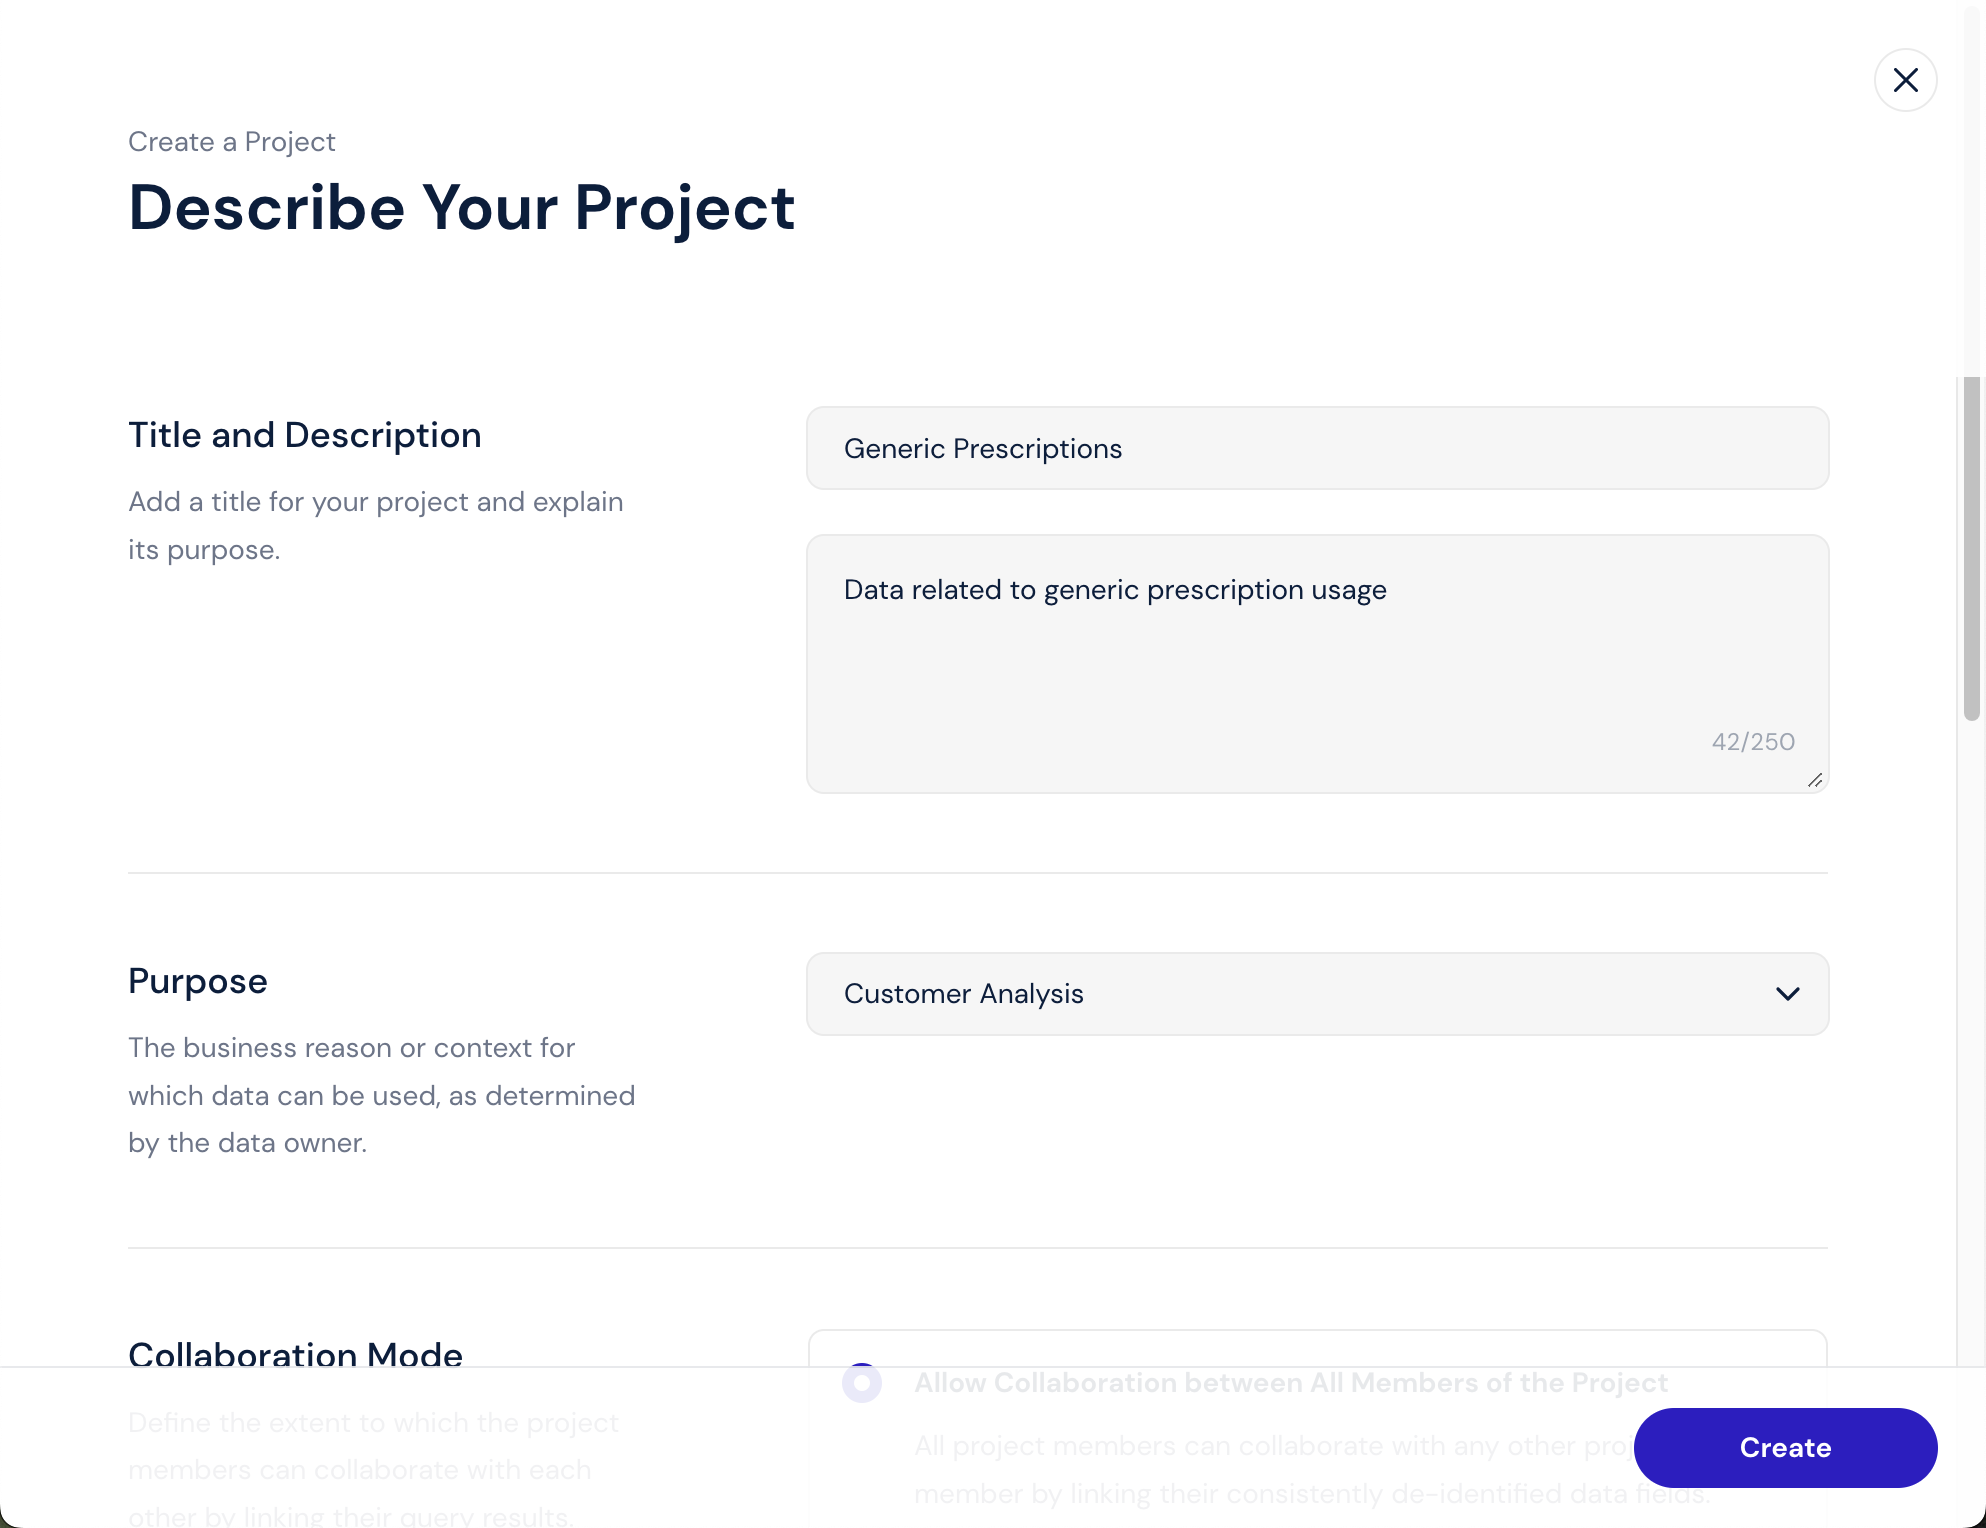
The Describe Your Project page appears.
Title—Enter a title for the project.
Description—Explain the goal of the project.
Purpose—Select the project purpose from the list of preapproved purposes. (Required)
The purpose identifies the intended use of the assets in the project. The purpose is one of the parameters used to match the data consumer's data request to one or more data protection policies and rules that are conditioned on the same purpose.
Collaboration Mode—Project collaboration mode allows you to define the extent to which the project members can collaborate with each other by linking their query results. Data is linkable when the same values are consistently de-identified across the different datasets.
Select one of the following options:
Allow Collaboration between All Members of the Project
This option allows all project members to collaborate with any other project member by linking their consistently de-identified data fields.
Restrict Collaboration within User Groups
This option restricts the collaboration (data linkability) only within individual user groups. Data cannot be linked by members of different groups. (For example, members of Group A cannot link data with members of Group B, only with other members of Group A who are members of the project.) Project members who are not listed in any of the selected user groups cannot collaborate with any other project member.
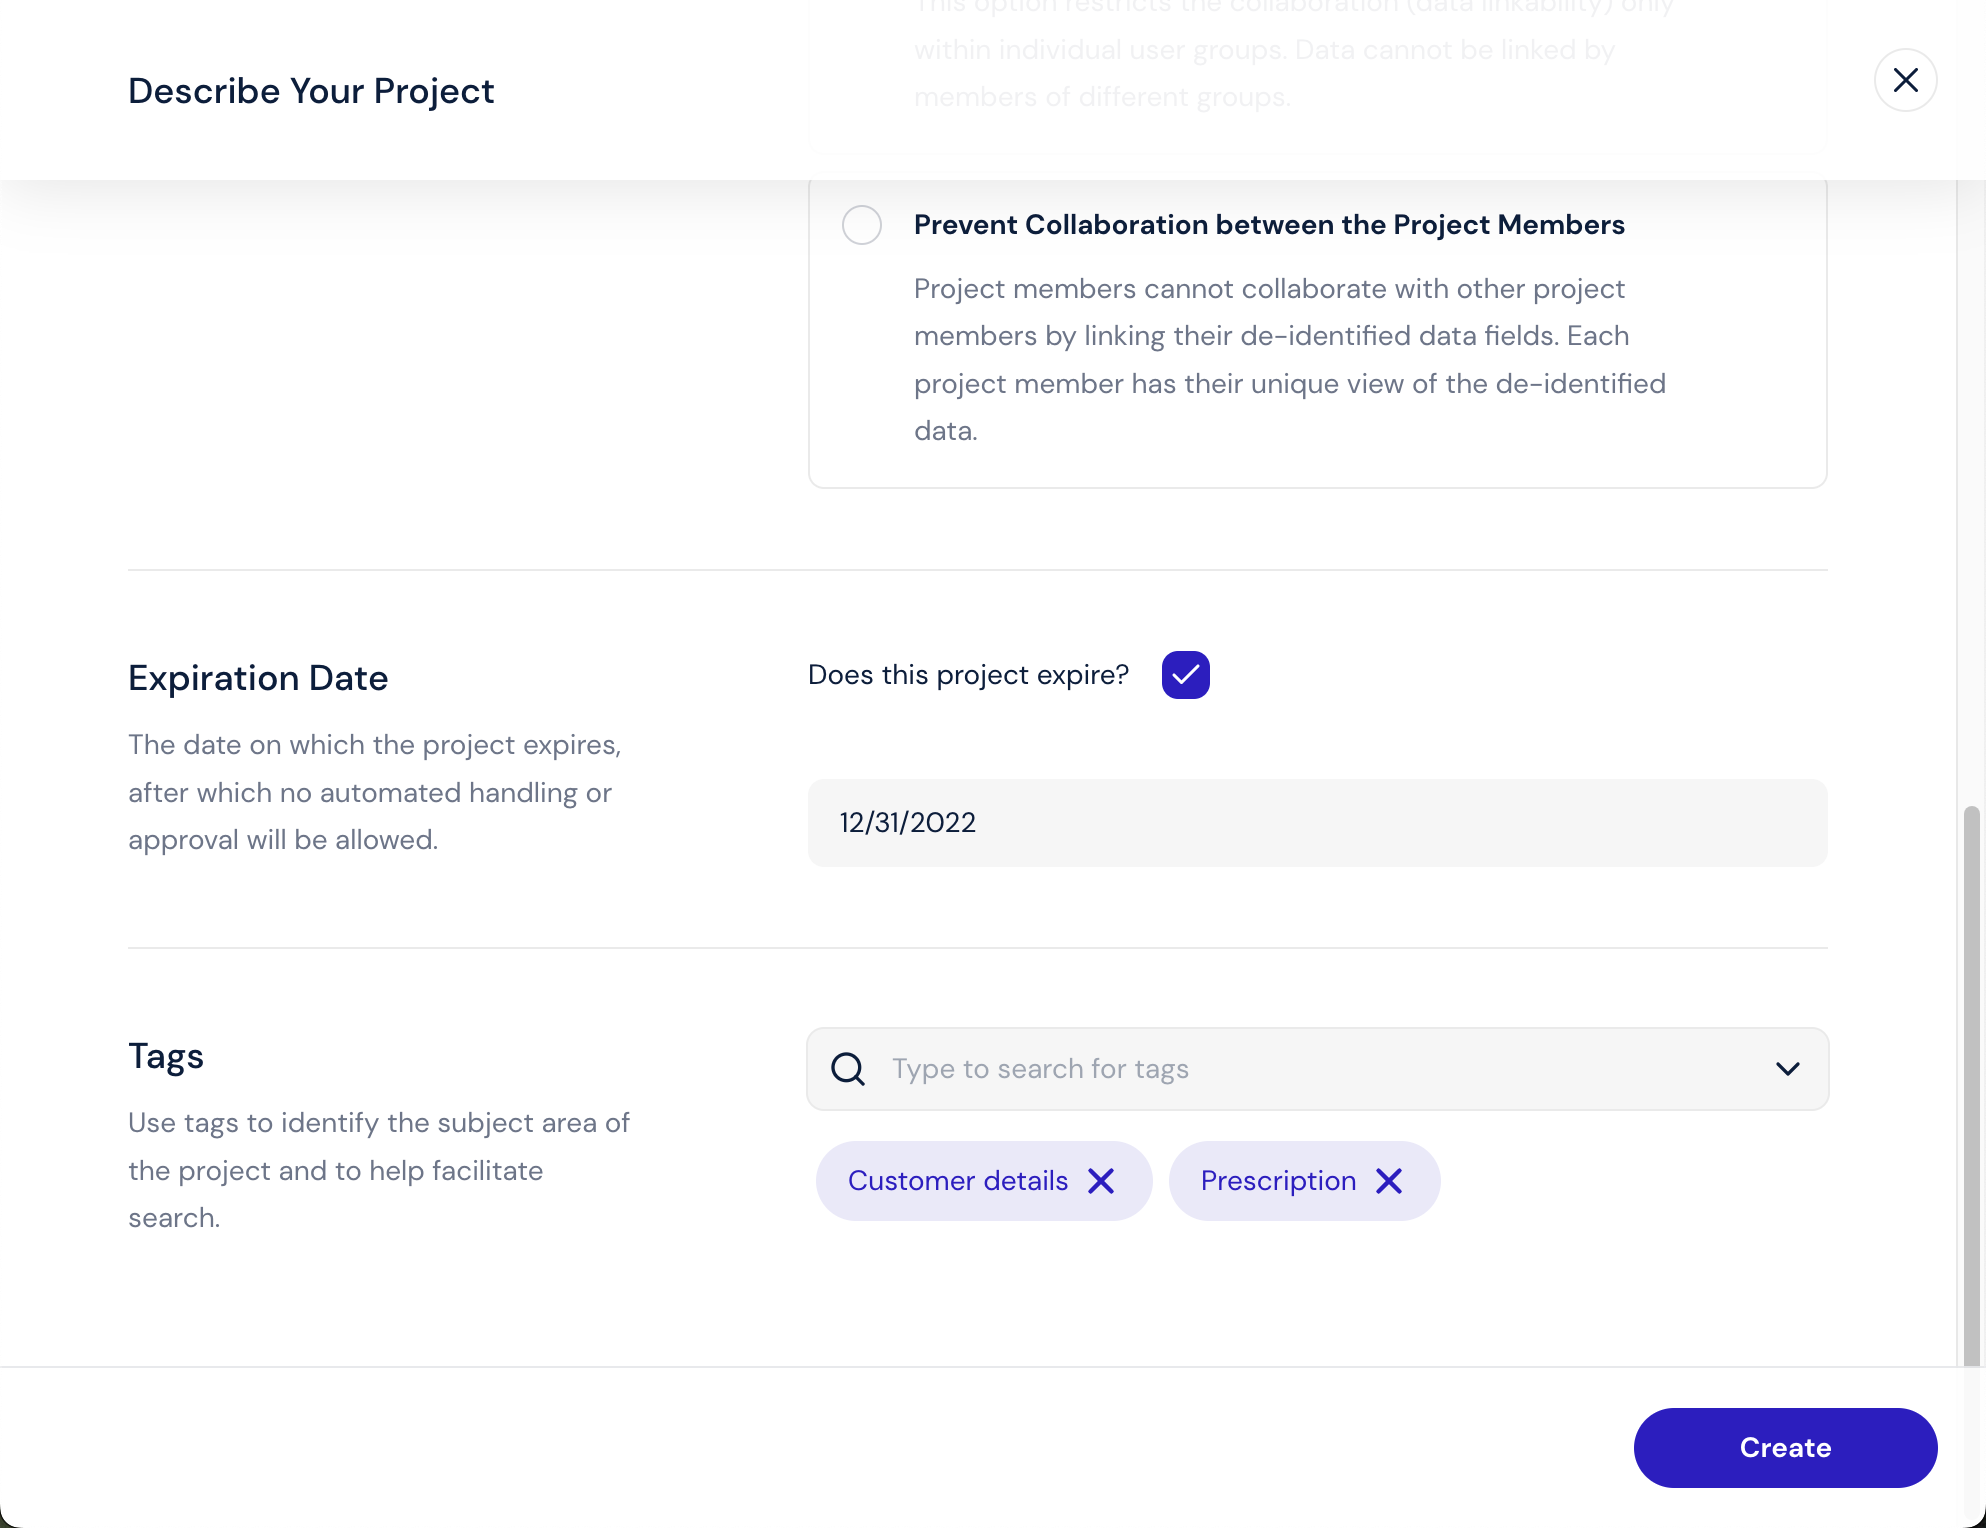
Prevent Collaboration between the Project Members
Project members cannot collaborate with other project members by linking their de-identified data fields. Each project member has their unique view of the de-identified data.
Tags—Select tags to assign to the project.
Use tags to identify the subject area of the project and to help facilitate search.
Note
If you cannot find a tag that matches your criteria, you can create a new tag. See Create a Tag.
Expiration Date—Select whether access to data in the project expires and if so, select the expiration date.
By default projects do not expire.
If you select an expiration date for this project, it will be inactive after that date, preventing access to the data.
If you want to access data in a project after its expiration date, you can go through another approval process. You do this by editing the inactive project to move it into In Draft status. Once you resubmit it, a data guardian can then approve the project, granting you access to the data once again.
Click Create.
A confirmation message appears.
Once you have created a project, you can now look for data to add to that project.